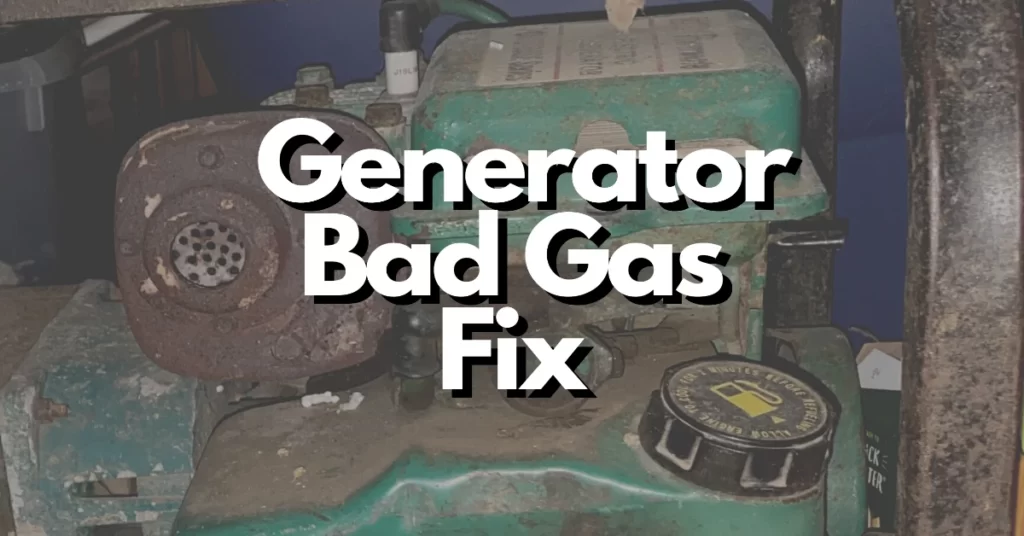
Generators are invaluable devices for providing backup power during outages. However, like any engine-driven equipment, generators can encounter issues, and one common problem is bad gas. If your generator is sputtering, hard to start, or running erratically, bad gas might be the culprit.
In this step-by-step guide, we’ll walk you through how to diagnose and fix a generator with bad gas to ensure it operates smoothly when you need it most.
Step 1: Safety First
Before attempting any repairs, ensure your safety:
- Work in a well-ventilated area.
- Turn off the generator.
- Allow the generator to cool down.
- Wear appropriate safety gear, including gloves and eye protection.
Step 2: Gather Your Tools and Supplies
You’ll need the following tools and supplies:
- Fresh gasoline
- Fuel stabilizer
- Siphon pump or hose
- Empty gas container
- Screwdriver
- Wrenches (if necessary)
- Replacement fuel filter (if necessary)
- Funnel
Step 3: Drain the Old Gasoline
- Locate the fuel tank and identify the fuel valve or petcock. Turn the valve to the “OFF” position.
- Place the empty gas container beneath the fuel tank.
- Remove the fuel line connected to the carburetor. This may require using wrenches, depending on your generator model.
- Use a siphon pump or hose to drain the old gasoline from the fuel tank into the empty gas container.
Step 4: Inspect the Fuel
- Examine the old gasoline in the container. If it appears discolored, smells sour, or contains debris, it’s likely bad gas.
- Dispose of the old gasoline at an appropriate hazardous waste facility.
Step 5: Clean the Fuel System
- Reconnect the fuel line to the carburetor.
- Add fresh gasoline to the fuel tank. For preventive measures, mix in a fuel stabilizer following the manufacturer’s instructions.
Step 6: Start the Generator
- Ensure the fuel valve is set to “ON.”
- Prime the generator according to the manufacturer’s instructions, typically by pushing a primer bulb or activating a choke.
- Start the generator and let it run for a few minutes. This allows the fresh gasoline to flow through the fuel system.
Step 7: Monitor Generator Operation
- Observe the generator’s operation. If it runs smoothly and consistently, the issue was likely bad gas, and you’ve successfully fixed it.
- If the problem persists, consider checking and potentially replacing the fuel filter. Refer to your generator’s manual for instructions on locating and replacing the fuel filter.
Maintenance and Prevention
Regular Maintenance: To avoid future bad gas issues, perform regular maintenance on your generator. This includes changing the oil, cleaning the air filter, and keeping the fuel system clean.
Fuel Stabilization: When storing your generator, add a fuel stabilizer to the gasoline in the tank to prevent it from going bad.
Use Ethanol-Free Gas: If possible, use ethanol-free gasoline, as ethanol can lead to gas-related problems.
Store with Empty Tank: If you anticipate long periods of non-use, consider running the generator until the fuel tank is empty to prevent gas from going bad.
Conclusion
Fixing a generator with bad gas is a manageable task that can save you time and money compared to seeking professional assistance. By following this step-by-step guide and practicing preventive measures, you can ensure your generator operates reliably when you need it most.
Always prioritize safety during the repair process, and if you encounter issues beyond bad gas, consult your generator’s manual or seek professional assistance to address the problem effectively. With proper maintenance and care, your generator will continue to provide reliable backup power for years to come.
